ComfyUI + Z-Image-Turbo AMD ROCm 完整安装指南
在 AMD RX 7900 XTX + ROCm 7.2 + Deepin V25.1 上,从零跑通 ComfyUI + Z-Image-Turbo。

ComfyUI + Z-Image-Turbo AMD ROCm 完整安装指南
在 AMD Radeon RX 7900 XTX (24GB) + Deepin V25.1 + ROCm 7.2.3 环境下,从零安装 ComfyUI + Z-Image-Turbo。2026年5月。
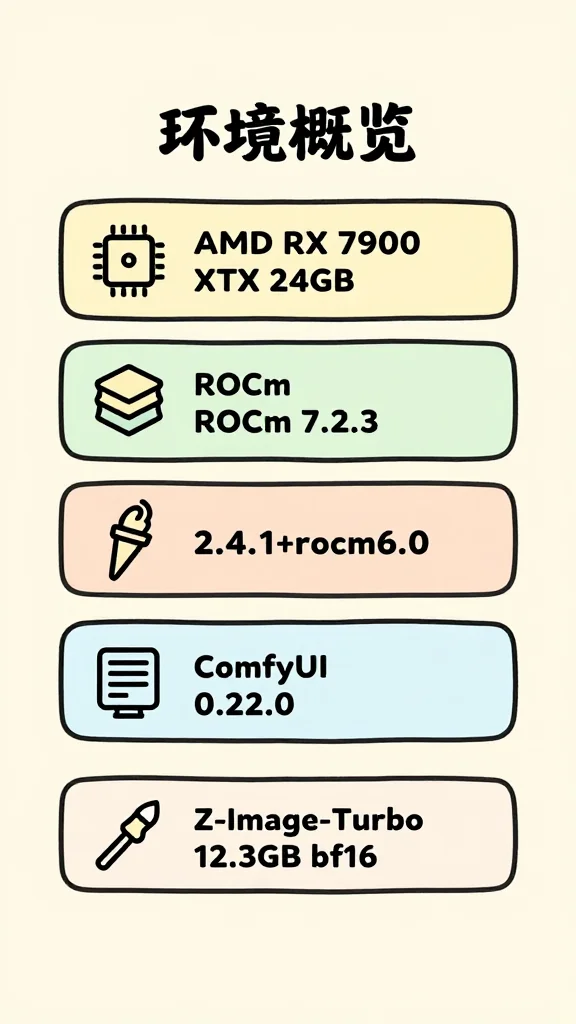
一、环境概览
| 组件 | 版本 |
|---|---|
| GPU | AMD Radeon RX 7900 XTX (gfx1100) 24GB |
| 系统 | Deepin V25.1 |
| ROCm | 7.2.3 |
| Python | 3.11(ComfyUI 自带 venv) |
| PyTorch | 2.4.1 |
| ComfyUI | 0.22.0 |
AMD 显卡必须用 ROCm 版 PyTorch,CUDA 版能识别 GPU 但推理实际走 CPU,VRAM 不动、RAM 爆高。
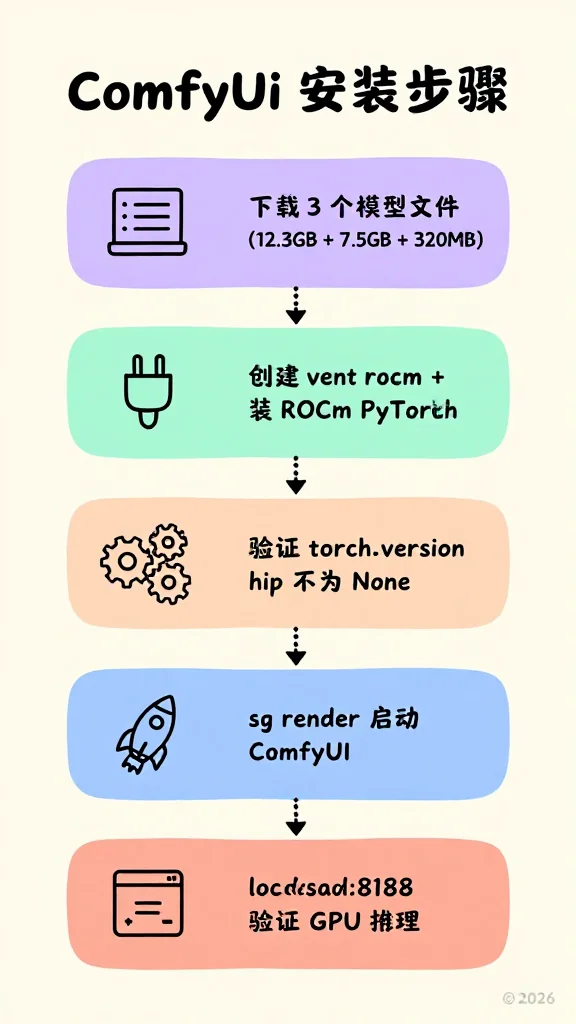
二、安装步骤
2.1 加入 render 用户组
ROCm 需要 /dev/kfd 设备权限:
sudo usermod -aG render $USER
# 重新登录后生效,当前终端用:
newgrp render
2.2 克隆 ComfyUI
git clone https://github.com/comfyanonymous/ComfyUI.git ~/ComfyUI2.3 创建 ROCm Python 环境
ComfyUI 自带的 venv 是 CUDA 版,需要单独建 ROCm 版本:
cd ~/ComfyUI
python3 -m venv venv_rocm
source venv_rocm/bin/activate

# 安装 ROCm 版 PyTorch
pip install torch torchvision torchaudio --index-url https://download.pytorch.org/whl/rocm6.0
如果 pip 下载慢(
/tmp通常是小 tmpfs),用自定义临时目录:mkdir -p ~/tmp-pip TMPDIR=~/tmp-pip pip install ...
2.4 验证 PyTorch 能识别 AMD GPU
source ~/ComfyUI/venv_rocm/bin/activate
python3 -c "import torch; print('hip:', torch.version.hip)"
# 输出 hip: 6.0(非 None 说明是 ROCm 版)
三、模型下载
3.1 下载地址
| 文件 | 大小 | 用途 |
|---|---|---|
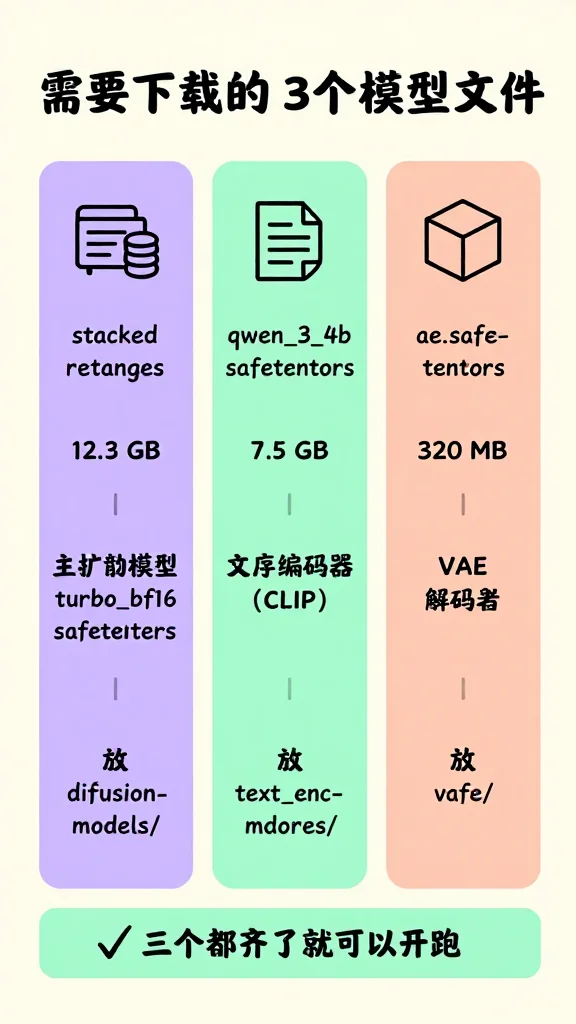
z_image_turbo_bf16.safetensors | 12.3GB | 扩散模型(主模型) |
qwen_3_4b.safetensors | 7.5GB | 文本编码器(CLIP) |
ae.safetensors | 320MB | VAE 解码器 |
下载地址(二选一):
- ModelScope:https://www.modelscope.cn/models/Comfy-Org/z_image_turbo
- HuggingFace:https://huggingface.co/Comfy-Org/z_image_turbo
3.2 ModelScope SDK 下载示例
from modelscope.hub.file_download import model_file_download
import os

model_dir = "/home/lzy/ComfyUI/models"
for subdir in ["diffusion_models", "text_encoders", "vae"]:
    os.makedirs(f"{model_dir}/{subdir}", exist_ok=True)

# 扩散模型
model_file_download(
    model_id="Comfy-Org/z_image_turbo",
    file_name="diffusion_models/z_image_turbo_bf16.safetensors",
    cache_dir=model_dir
)

# CLIP 编码器
model_file_download(
    model_id="Comfy-Org/z_image_turbo",
    file_name="text_encoders/qwen_3_4b.safetensors",
    cache_dir=model_dir
)

# VAE
model_file_download(
    model_id="Comfy-Org/z_image_turbo",
    file_name="vae/ae.safetensors",
    cache_dir=model_dir
)
3.3 模型存放位置
~/ComfyUI/models/
├── diffusion_models/
│   └── z_image_turbo_bf16.safetensors   ← 主扩散模型(12.3GB)
├── text_encoders/
│   └── qwen_3_4b.safetensors            ← CLIP 文本编码器(7.5GB)
└── vae/
    └── ae.safetensors                   ← VAE 解码器(320MB)
四、工作流
4.1 下载官方示例工作流
官方示例页面:https://comfyanonymous.github.io/ComfyUI_examples/z_image/
4.2 工作流节点说明
| 节点 | 类型 | 配置 |
|---|---|---|
| UNETLoader | 加载扩散模型 | z_image_turbo_bf16.safetensors,weight_dtype=default |
| CLIPLoader | 加载文本编码器 | qwen_3_4b.safetensors,type=lumina2 |
| VAELoader | 加载 VAE | ae.safetensors |
| CLIPTextEncode(正) | 正向提示词编码 | 输入提示词 |
| CLIPTextEncode(负) | 负向提示词编码 | 输入 负提示词 |
| EmptySD3LatentImage | 潜在图初始化 | width=1024, height=1024, batch_size=1 |
| ModelSamplingAuraFlow | 模型采样配置 | shift=3.0 |
| KSampler | 采样器 | steps=8, cfg=1.0, sampler=euler, scheduler=simple |
| VAEDecode | 图像解码 | — |
| SaveImage | 保存图片 | — |
4.3 提示词示例
[[#十、测试效果]]
五、启动 ComfyUI
5.1 正确启动命令
cd ~/ComfyUI
sg render -c "HIP_VISIBLE_DEVICES=0 ROCR_VISIBLE_DEVICES=0 ~/ComfyUI/venv_rocm/bin/python main.py"
sg render以 render 组权限运行,可访问/dev/kfd。HIP_VISIBLE_DEVICES=0和ROCR_VISIBLE_DEVICES=0必须写在sg render -c "..."引号内部。 禁止加--force-fp16,Z-Image-Turbo 只支持 bf16/f32,加了会出纯噪点。
5.2 启动脚本
~/.local/bin/comfyui-start.sh:
#!/usr/bin/env bash
# ComfyUI launch script — Hex's RX 7900 XTX / ROCm 7.2 stack
# 2026-06-07: removed --force-fp16. ERNIE-Image-Turbo (16GB fp16 safetensors)
# crashes attention with NaN under --force-fp16; Z-Image-Turbo is bf16 file
# so the flag is a no-op for it. Default fp32→fp16 cast in ComfyUI handles
# ERNIE's transformer blocks correctly on ROCm.
# 2026-06-25: added --lowvram --reserve-vram 2. ERNIE OOM on 24GB card:
#   UNet 15.3GB + text encoder 6.5GB + VAE 0.16GB ≈ 22GB static; only ~2GB
#   left for DiT attention intermediate buffers at 832x1216 → sampling OOM
#   and server hangs. --lowvram moves text encoder to CPU (frees 6.5GB),
#   --reserve-vram 2 keeps 2GB for OS/ROCm runtime. Z-Image-Turbo (bf16
#   12GB) is unaffected — text encoder offload is cheap on a single GPU.
exec sg render -c "cd /home/lzy/ComfyUI && HIP_VISIBLE_DEVICES=0 ROCR_VISIBLE_DEVICES=0 ~/ComfyUI/venv_rocm/bin/python main.py --preview-method auto --disable-async-offload --disable-xformers --lowvram --reserve-vram 2"
chmod +x ~/.local/bin/comfyui-start.sh为什么加
--lowvram --reserve-vram 2:这一套是给 ERNIE-Image-Turbo 用的(见姐妹篇)。ERNIE fp16 safetensors (15GB) + text encoder (6.5GB) + VAE 总共吃 22GB 静态显存,只剩 2GB 给 DiT attention 中间 buffer,长 prompt 或对比类构图时 buffer 容易 OOM 导致 server 卡死。--lowvram把 text encoder 跑 CPU 释放 6.5GB,--reserve-vram 2再给 OS 留 2GB。Z-Image-Turbo 是 bf16 12GB,本身留的 buffer 充足,加这两个参数对它无副作用。
### 5.3 桌面快捷方式

`~/Desktop/comfyui.desktop`:

```ini
[Desktop Entry]
Name=ComfyUI
Exec=/home/lzy/.local/bin/comfyui-start.sh
Terminal=true
Type=Application
Categories=Graphics;
chmod +x ~/Desktop/comfyui.desktop
cp ~/Desktop/comfyui.desktop ~/.local/share/applications/
update-desktop-database ~/.local/share/applications/Deepin 注意:桌面缓存可能不实时更新。如果双击后进程参数带
--force-fp16,删掉.desktop重建即可。
5.4 验证 GPU 推理正常
启动后:
curl http://localhost:8188/system_stats正常输出 vram_free 应接近 24GB(你的卡的实际大小)。生成时 VRAM 会降到约 16GB,生成完回升。
六、API 生图
触发生图
curl -X POST http://localhost:8188/prompt \
  -H "Content-Type: application/json" \
  -d '{
    "prompt": {
      "3": {"class_type": "KSampler", "inputs": {"seed": 12345, "steps": 8, "cfg": 1.0, "sampler_name": "euler", "scheduler": "simple", "denoise": 1.0, "model": ["11", 0], "positive": ["6", 0], "negative": ["7", 0], "latent_image": ["13", 0]}},
      "6": {"class_type": "CLIPTextEncode", "inputs": {"text": "World of Warcraft, epic cinematic scene, massive black dragon Deathwing soaring through stormy sky", "clip": ["18", 0]}},
      "7": {"class_type": "CLIPTextEncode", "inputs": {"text": "blurry ugly bad", "clip": ["18", 0]}},
      "8": {"class_type": "VAEDecode", "inputs": {"samples": ["3", 0], "vae": ["17", 0]}},
      "9": {"class_type": "SaveImage", "inputs": {"images": ["8", 0], "filename_prefix": "api_test"}},
      "11": {"class_type": "ModelSamplingAuraFlow", "inputs": {"model": ["16", 0], "shift": 3.0}},
      "13": {"class_type": "EmptySD3LatentImage", "inputs": {"width": 1024, "height": 1024, "batch_size": 1}},
      "16": {"class_type": "UNETLoader", "inputs": {"unet_name": "z_image_turbo_bf16.safetensors", "weight_dtype": "default"}},
      "17": {"class_type": "VAELoader", "inputs": {"vae_name": "ae.safetensors"}},
      "18": {"class_type": "CLIPLoader", "inputs": {"clip_name": "qwen_3_4b.safetensors", "type": "lumina2", "device": "default"}}
    }
  }'
返回 {"prompt_id": "...", "number": 1, "node_errors": {}} 即成功。图片在 ~/ComfyUI/output/ 下。
七、常见问题速查
| 现象 | 可能原因 | 解决 |
|---|---|---|
| 纯噪点图 | --force-fp16 参数 | 去掉该参数 |
| VRAM 不动,RAM 20GB+ | HIP/ROCR 环境变量没传进子进程 | 确认环境变量写在 sg render -c "..." 引号内 |
torch.version.hip = None | PyTorch 是 CUDA 版 | 重装 ROCm 版 |
| pip 安装空间不足 | /tmp 是小 tmpfs | TMPDIR=~/tmp-pip pip install ... |
| 系统有双 GPU(dGPU + iGPU) | HIP_VISIBLE_DEVICES 未指定 | 加 HIP_VISIBLE_DEVICES=0 |
八、依赖版本锁定
ComfyUI-Manager 每次启动会自动升级 diffusers,可能破坏 Z-Image 节点。锁定版本:
source ~/ComfyUI/venv_rocm/bin/activate
pip install diffusers==0.31.0 huggingface_hub==0.23.4 transformers==4.46.0 --force-reinstall
九、性能参考
| 测试场景 | 分辨率 | 步数 | 耗时 | VRAM 占用 |
|---|---|---|---|---|
| 测试1 | 1024×1024 | 8步 | ~18秒 | ~7.7GB |
| 测试2 | 1024×1024 | 8步 | ~15-20秒 | ~7-8GB |
生成完毕 VRAM 释放回 24GB,UNET(12GB) + CLIP(7.5GB) + VAE(320MB) 权重常驻 RAM,是正常行为。
十、测试效果
测试提示词
提示词一(写实人物):
年轻女性,黑色高马尾,白T恤,百褶裙,图书馆书架旁,浅灰色墙面,坐姿,双手交叠放于膝上,自然微笑,白皙皮肤,精致五官,温柔气质,清新风格,写实光影,高清质感。
提示词二(机械巨龙):
一条翱翔的机械钢铁巨龙,咆哮状,巨型钢铁骨架外覆生物金属鳞片,鳞片在暗处泛着冷光,关节处有蒸汽泄漏和液压装置,双眼是炽热的能量核心,胸口核心发出脉冲光芒,展开金属翼翅,周围有电弧和火花环绕,钢铁的缝隙里透出暗红色的光,背景是雷云风暴,电影感光照,高细节机械设计,顶视角,仰拍,8K渲染。
生成结果
测试 1:写实人物(提示词一)

测试 2:机械巨龙(提示词二)

本文档更新时间:2026年5月30日
配图参考(Z-Image-Turbo 实测)
下面是这套 Z-Image-Turbo + ComfyUI 安装流程的 4 张配图,全部用 Z 模型本身渲染(不是 ERNIE 替换)。用来对照另一篇姐妹篇《ERNIE vs Z-Image 生图对比》—— 同一段 prompt 在 Z 上会渲成什么样、ERNIE 上会渲成什么样。
1. 环境概览(手绘配置卡)
2. 安装步骤(流程图)
3. 需要下载的 3 个模型文件
4. 常见错误速查
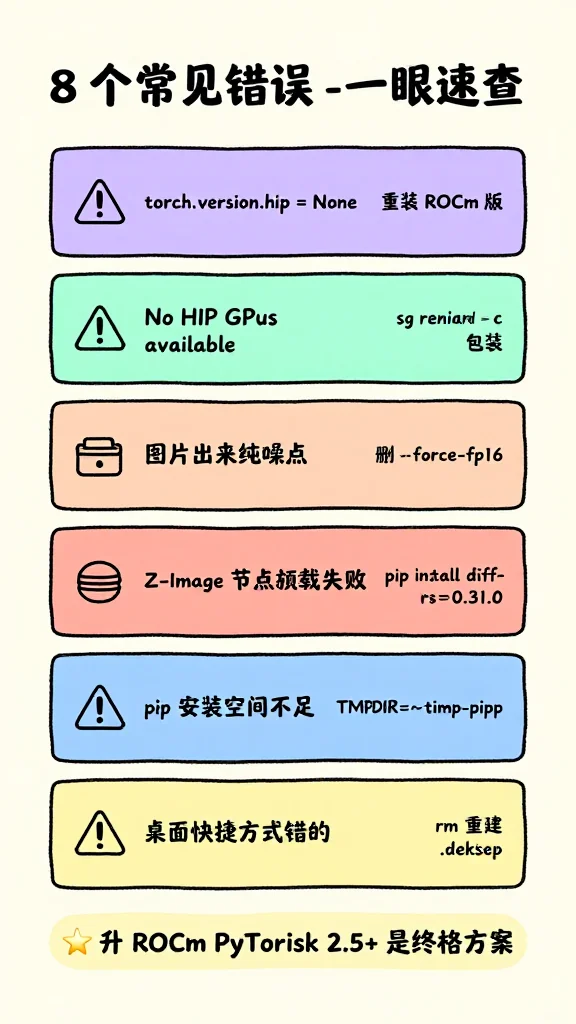
这 4 张图都是 Z 模型跑的。短小纯英文+数字的环境卡 Z 跑对了,但文字一多就翻车——看错误速查那张:
- “sg render -c” 渲染成了 “sg reniard -c”
- “diffusers0.31.0” 渲染成了 “diff-rs0.31.0”
- 底部”升 ROCm PyTorch 2.5+ 是终极方案”渲染成了”升 ROCm PyTorisk 2.5+ 是终格方案”(h → k)
这就是为什么会引出下一篇《ERNIE vs Z-Image 生图对比》—— 同一段 prompt 改用 ERNIE 渲效果差距有多明显。